MAIN MENU /
Uplifting Brands That Uplift Others
hello@upandup.agency
504 Rhett Street, Suite 100
Greenville, SC 29601
(864) 373-9330


What do Disney and the Mount St. Mary’s website have in common?
Beautiful animations.

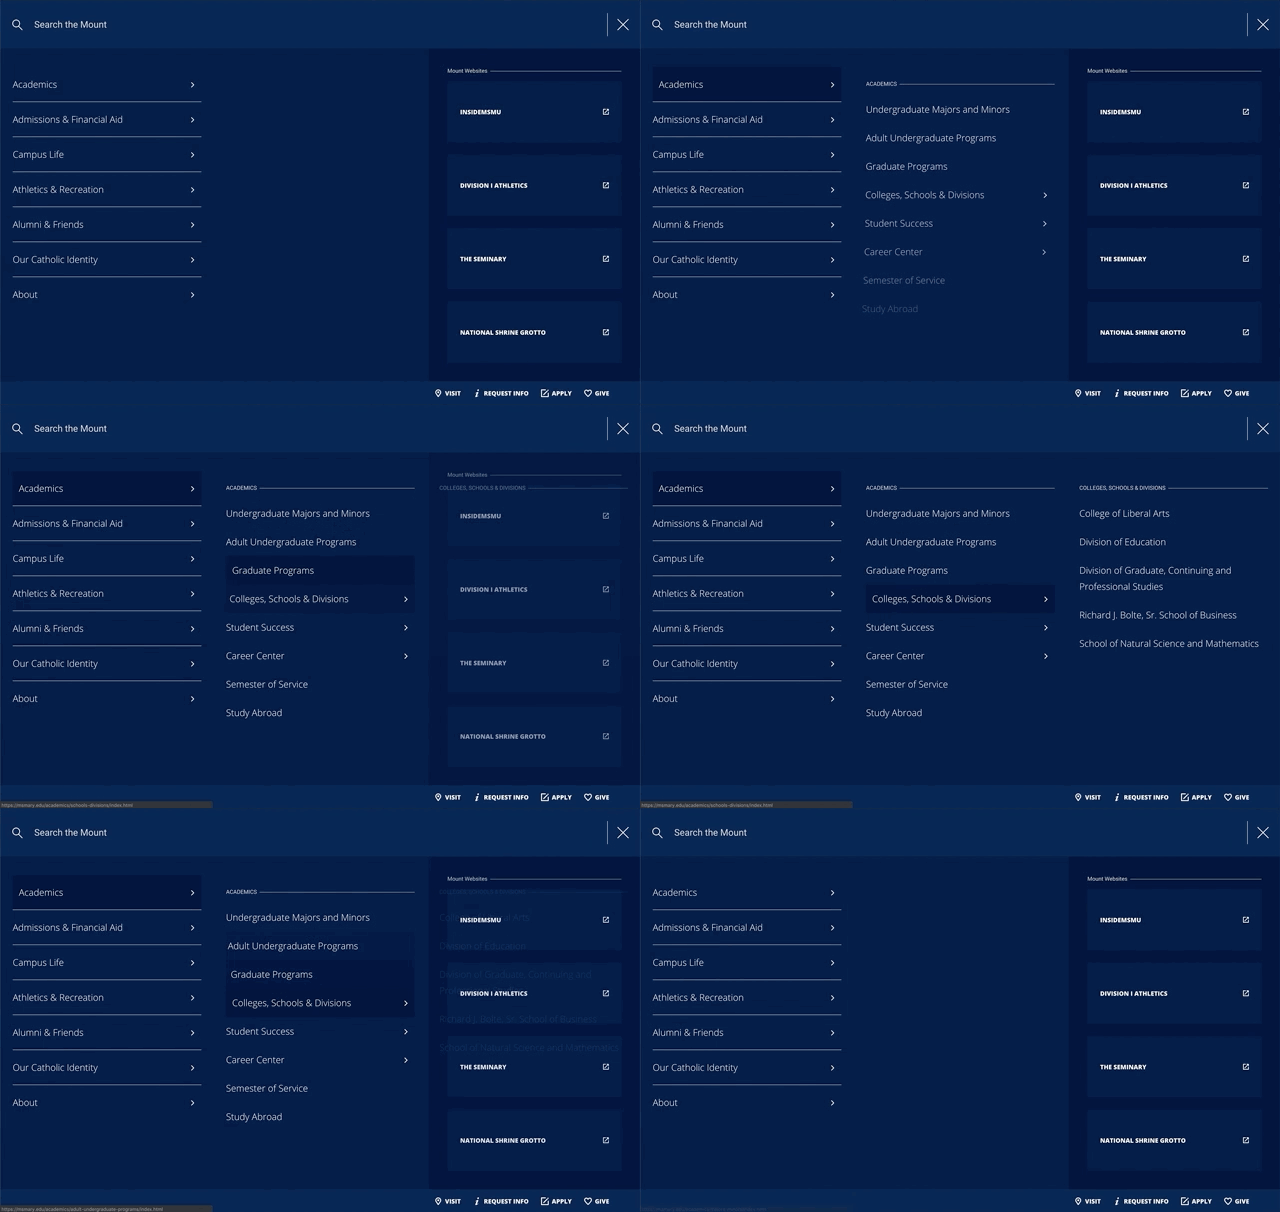
Animation on the web offers a variety of benefits. It makes a page engaging and interesting by introducing subtle user interactions. It leads users in the right direction by indicating what page elements can be interacted with. Ultimately, it even conveys a piece of a brand’s personality and tone on a webpage. For example, an animation that bounces in conveys a silly and playful tone.
However, animations are not always simple. In some cases, animations may have multiple elements that need to move in sequence. In other scenarios, animations may depend on the user’s behavior and interactions with the webpage. When animations get complex, they require a strategy to manage them in a predictable fashion. We worked on an animation setup recently, and we are excited to share how we approached the project and chose to manage the animations on the page.
One of our more recent animation challenges can be seen on the Mount St. Mary’s homepage. The homepage is organized into sections that stretch to fit the screen, each with content about the university. As a user scrolls down this page, the sections slide up and into view. On several of the slides, the copy fades in quickly once the slide is on screen. The individual pieces of text have slight delays between their animation start times in order to create a cascading or “waterfall” effect.

So how do we create such an effect? How do we set up the elements to appear after a slide is entered? How do we create the “waterfall” effect where animation start times are staggered? To answer these questions, let’s first explore what techniques we did not use.

It would be possible to configure multiple Javascript-based timers that would run when the slide was reached. Each timer would be responsible for triggering the start of one of the animations on a slide. In this approach, we would need to write a new timer for every element we wanted to animate. These timers could be set up in an automated fashion by using Javascript to find all the elements that needed to be animated and setting up a timer for each one of them using a loop. While setting up individual timers in this way could work, one concern we had about doing so was finding a good way to cancel timers that were set and did not need to run in the end. In order to ensure that timers could be canceled if needed, we would need to keep up with each one individually in memory. This approach, while automatable, seemed too messy and cumbersome from the outset.

Greensock is an animation platform that makes creating complex animations easier. It provides functionality to create motion tweens and animation timelines, allowing for animations to happen in sequence and be easily adjusted and updated as needed. Greensock is an excellent animation platform, however, it did not quite fit our use case. In our project, there are at least three slides with animation needs. For each of these slides, elements that needed animating would need to be identified and added to an animation timeline. A new timeline would be needed for each slide so that timelines could be triggered individually whenever a slide was entered.

While it would certainly possible to use Greensock in this way, and even to automate the timeline setups, adding the Greensock platform seemed like overkill for our particular needs. Our animations were too simple to justify including such a robust animation library in the codebase.

The route we took involved a few steps to make sure that the animations on each slide were consistent, repeatable and expandable. Meaning, primarily, that it would not matter how many elements were on each slide or how many slides there were on the homepage, the animations would always happen in the same way for each slide that required them.
To start off, on each slide the “animatable” elements were identified. This identification was done using a data attribute in the HTML. By adding a data attribute to “animatable” elements, the Javascript running the homepage slider was able to pick up elements on the slide that needed to be animated, no matter how many there were.
After that, the animations themselves were configured using CSS transitions and special class names. Animations are triggered by adding or removing classes on the elements in question. Animation delays are created using CSS transition delays that are slightly increased for each subsequent element in the sequence (these are automated and assigned via JavaScript).
Finally, when a slide is entered, all the elements that have been identified as “animatable” are assigned their special transition class that triggers the animation. Because transition delays have been set for each element in the sequence, elements animate in with a cascading effect.

Using this solution, our simple animation system can handle new elements and slides with no change to the code. It will always reproduce the same predictable effect for each new panel in the homepage experience.
If you are digging what you see on the Mount St. Mary’s homepage, let’s create unique and clever animations for your website.